
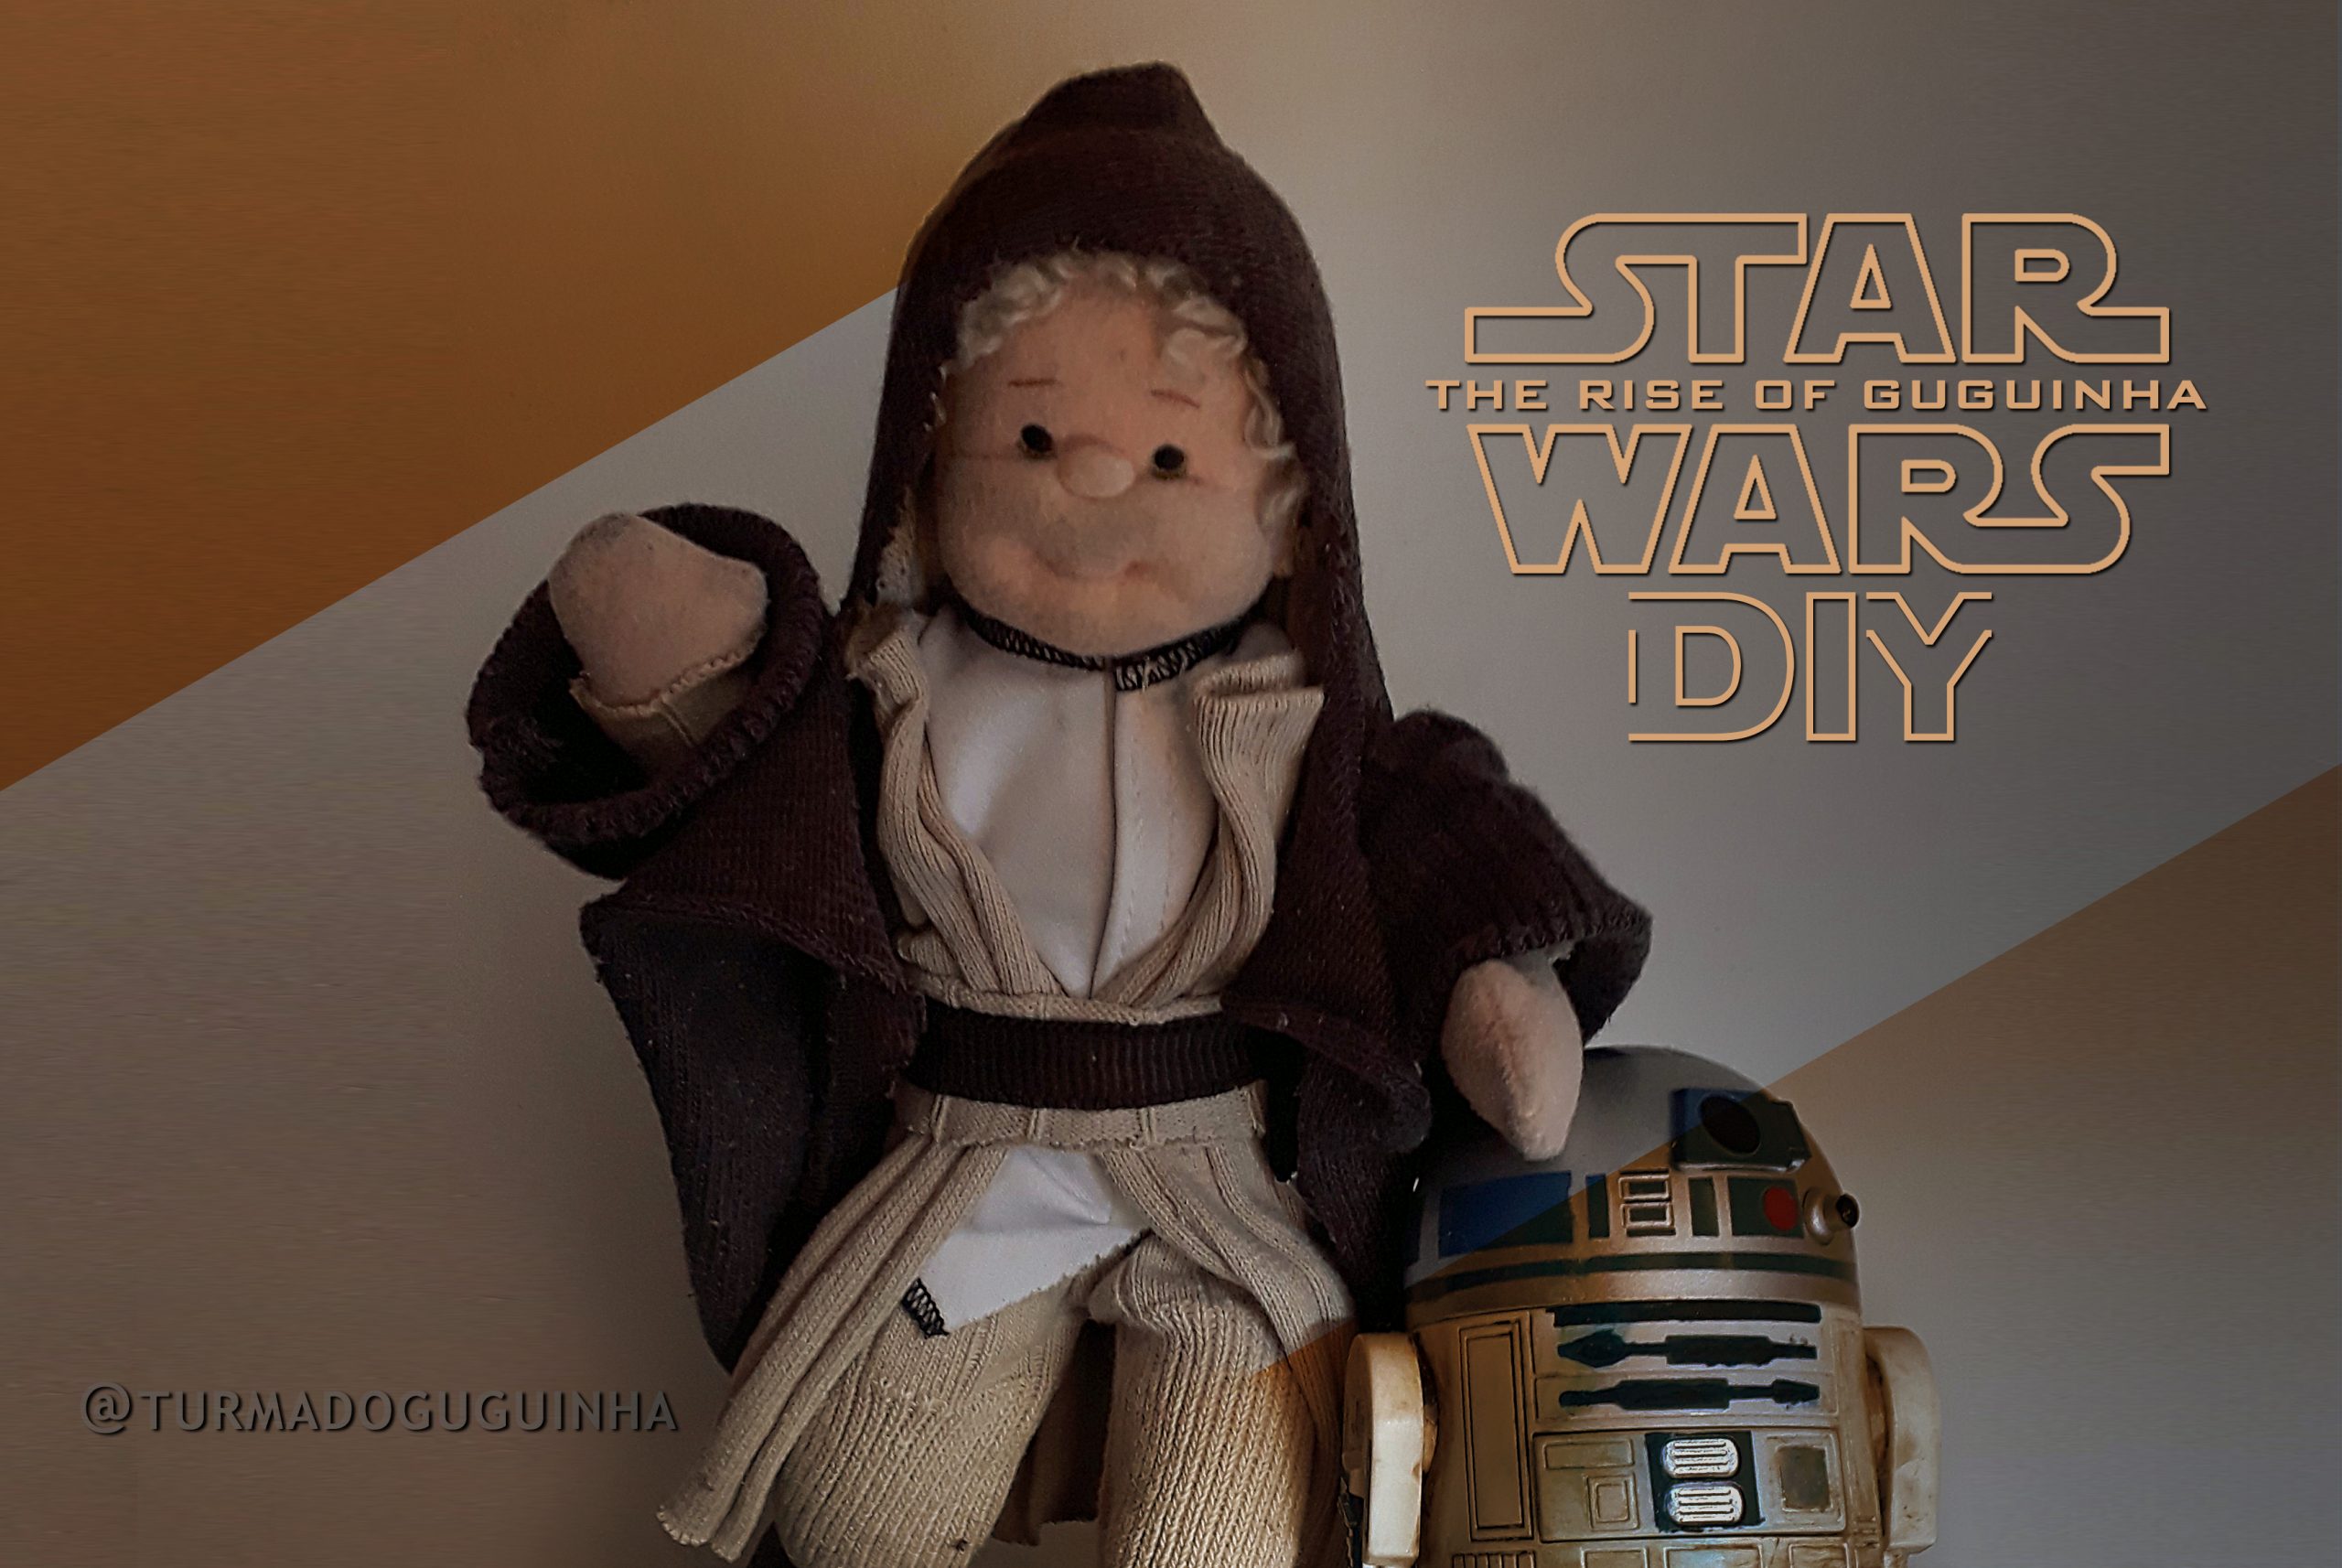
Star Wars – DIY A JEDI
Você sempre quis ser um Jedi? Está na hora de tornar seu sonho realidade! Ou pelo menos para seus bonecos com este tutorial para fazer um traje padrão dos Jedi. Tudo o que você vai precisar é:
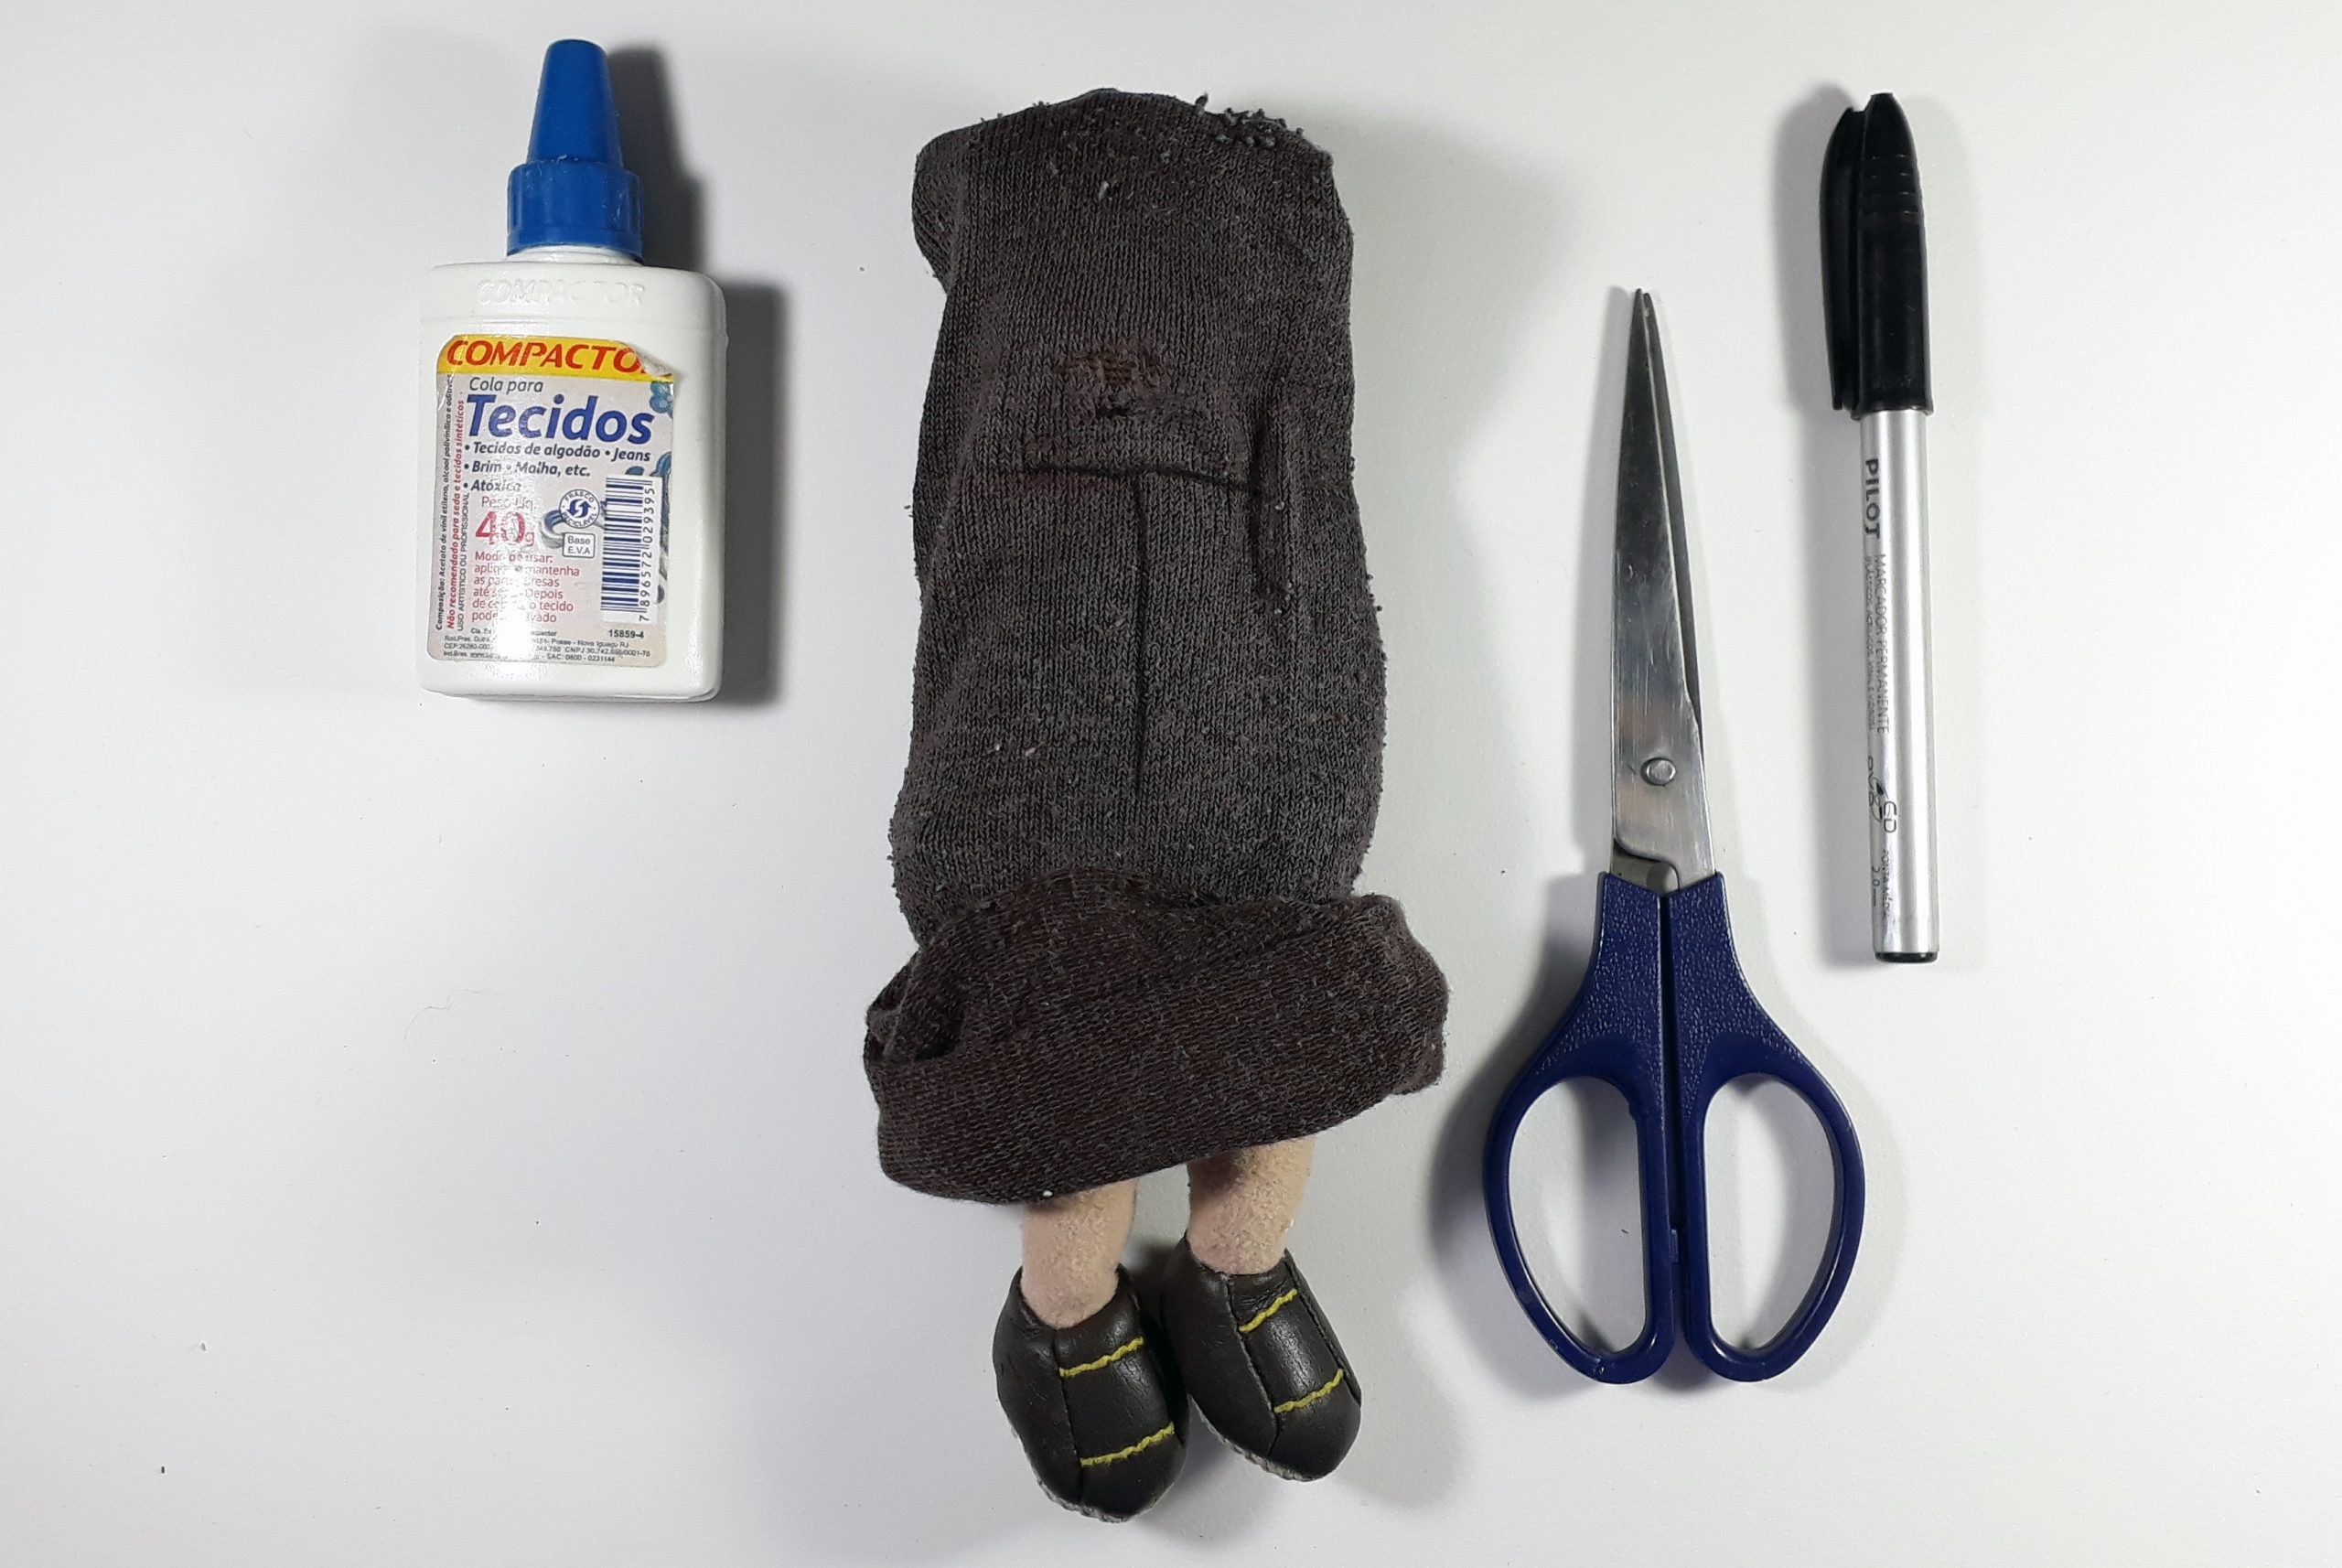
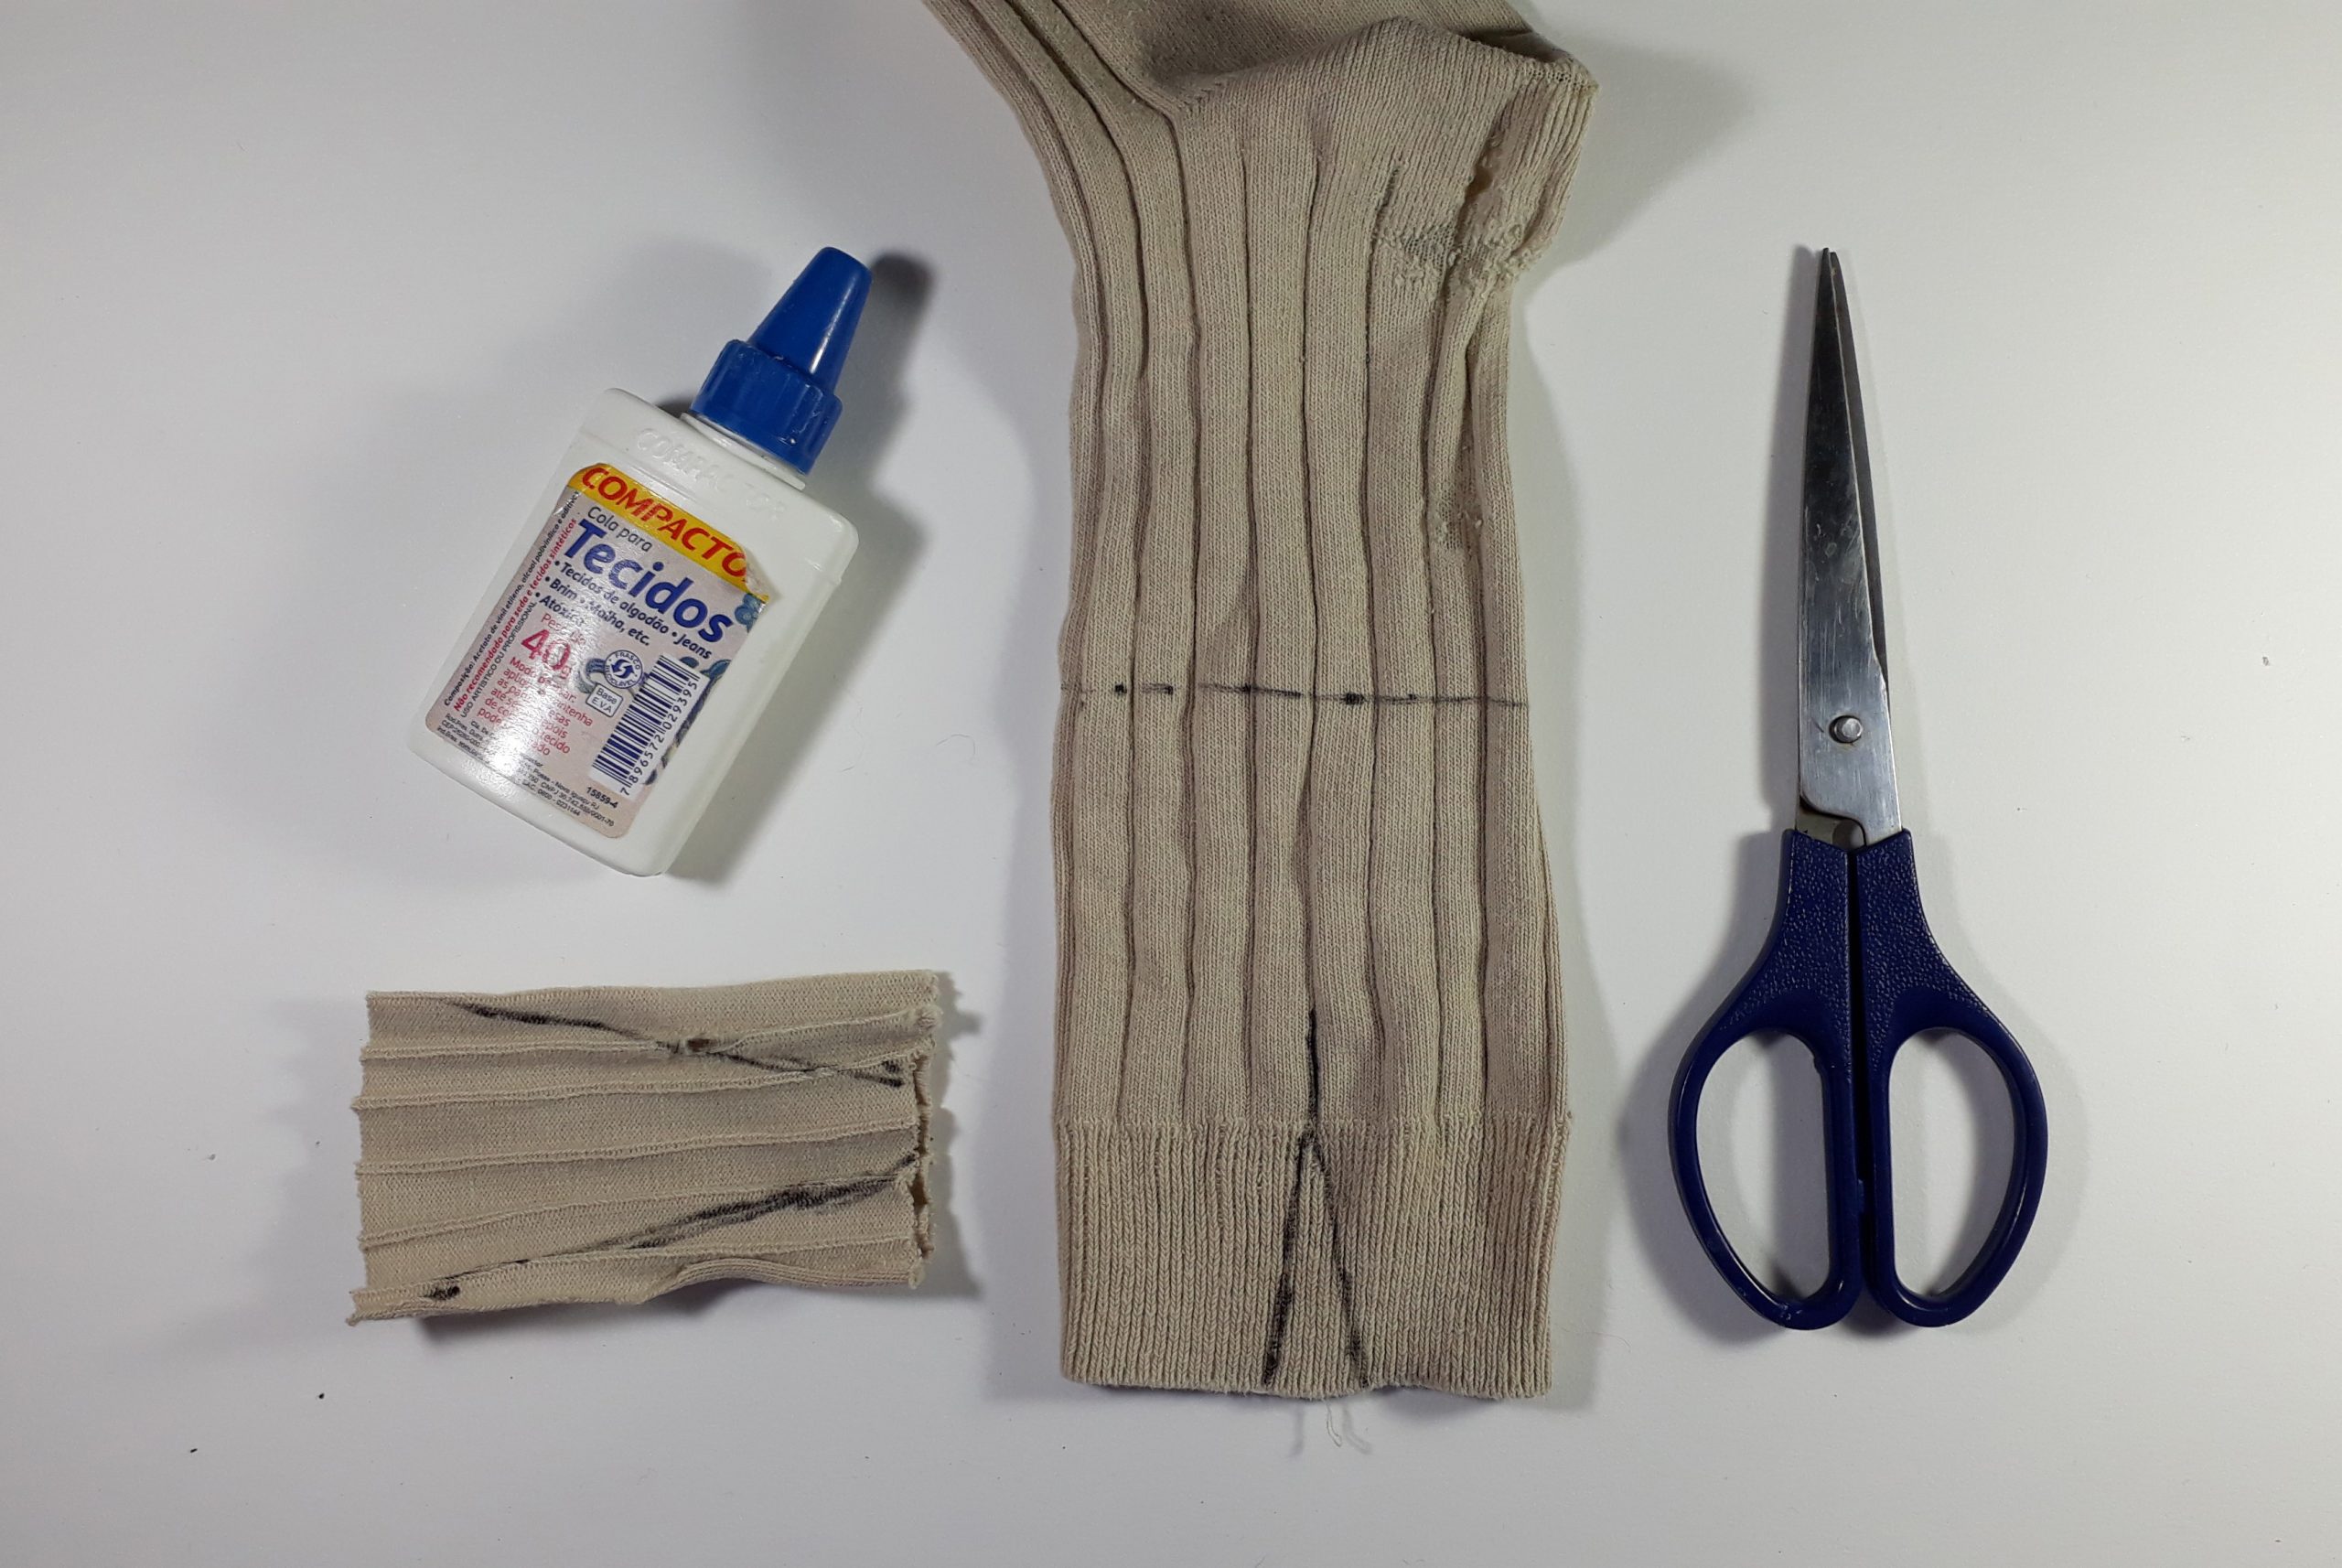
- Cola de tecido
- Tesoura
- Caneta marcador
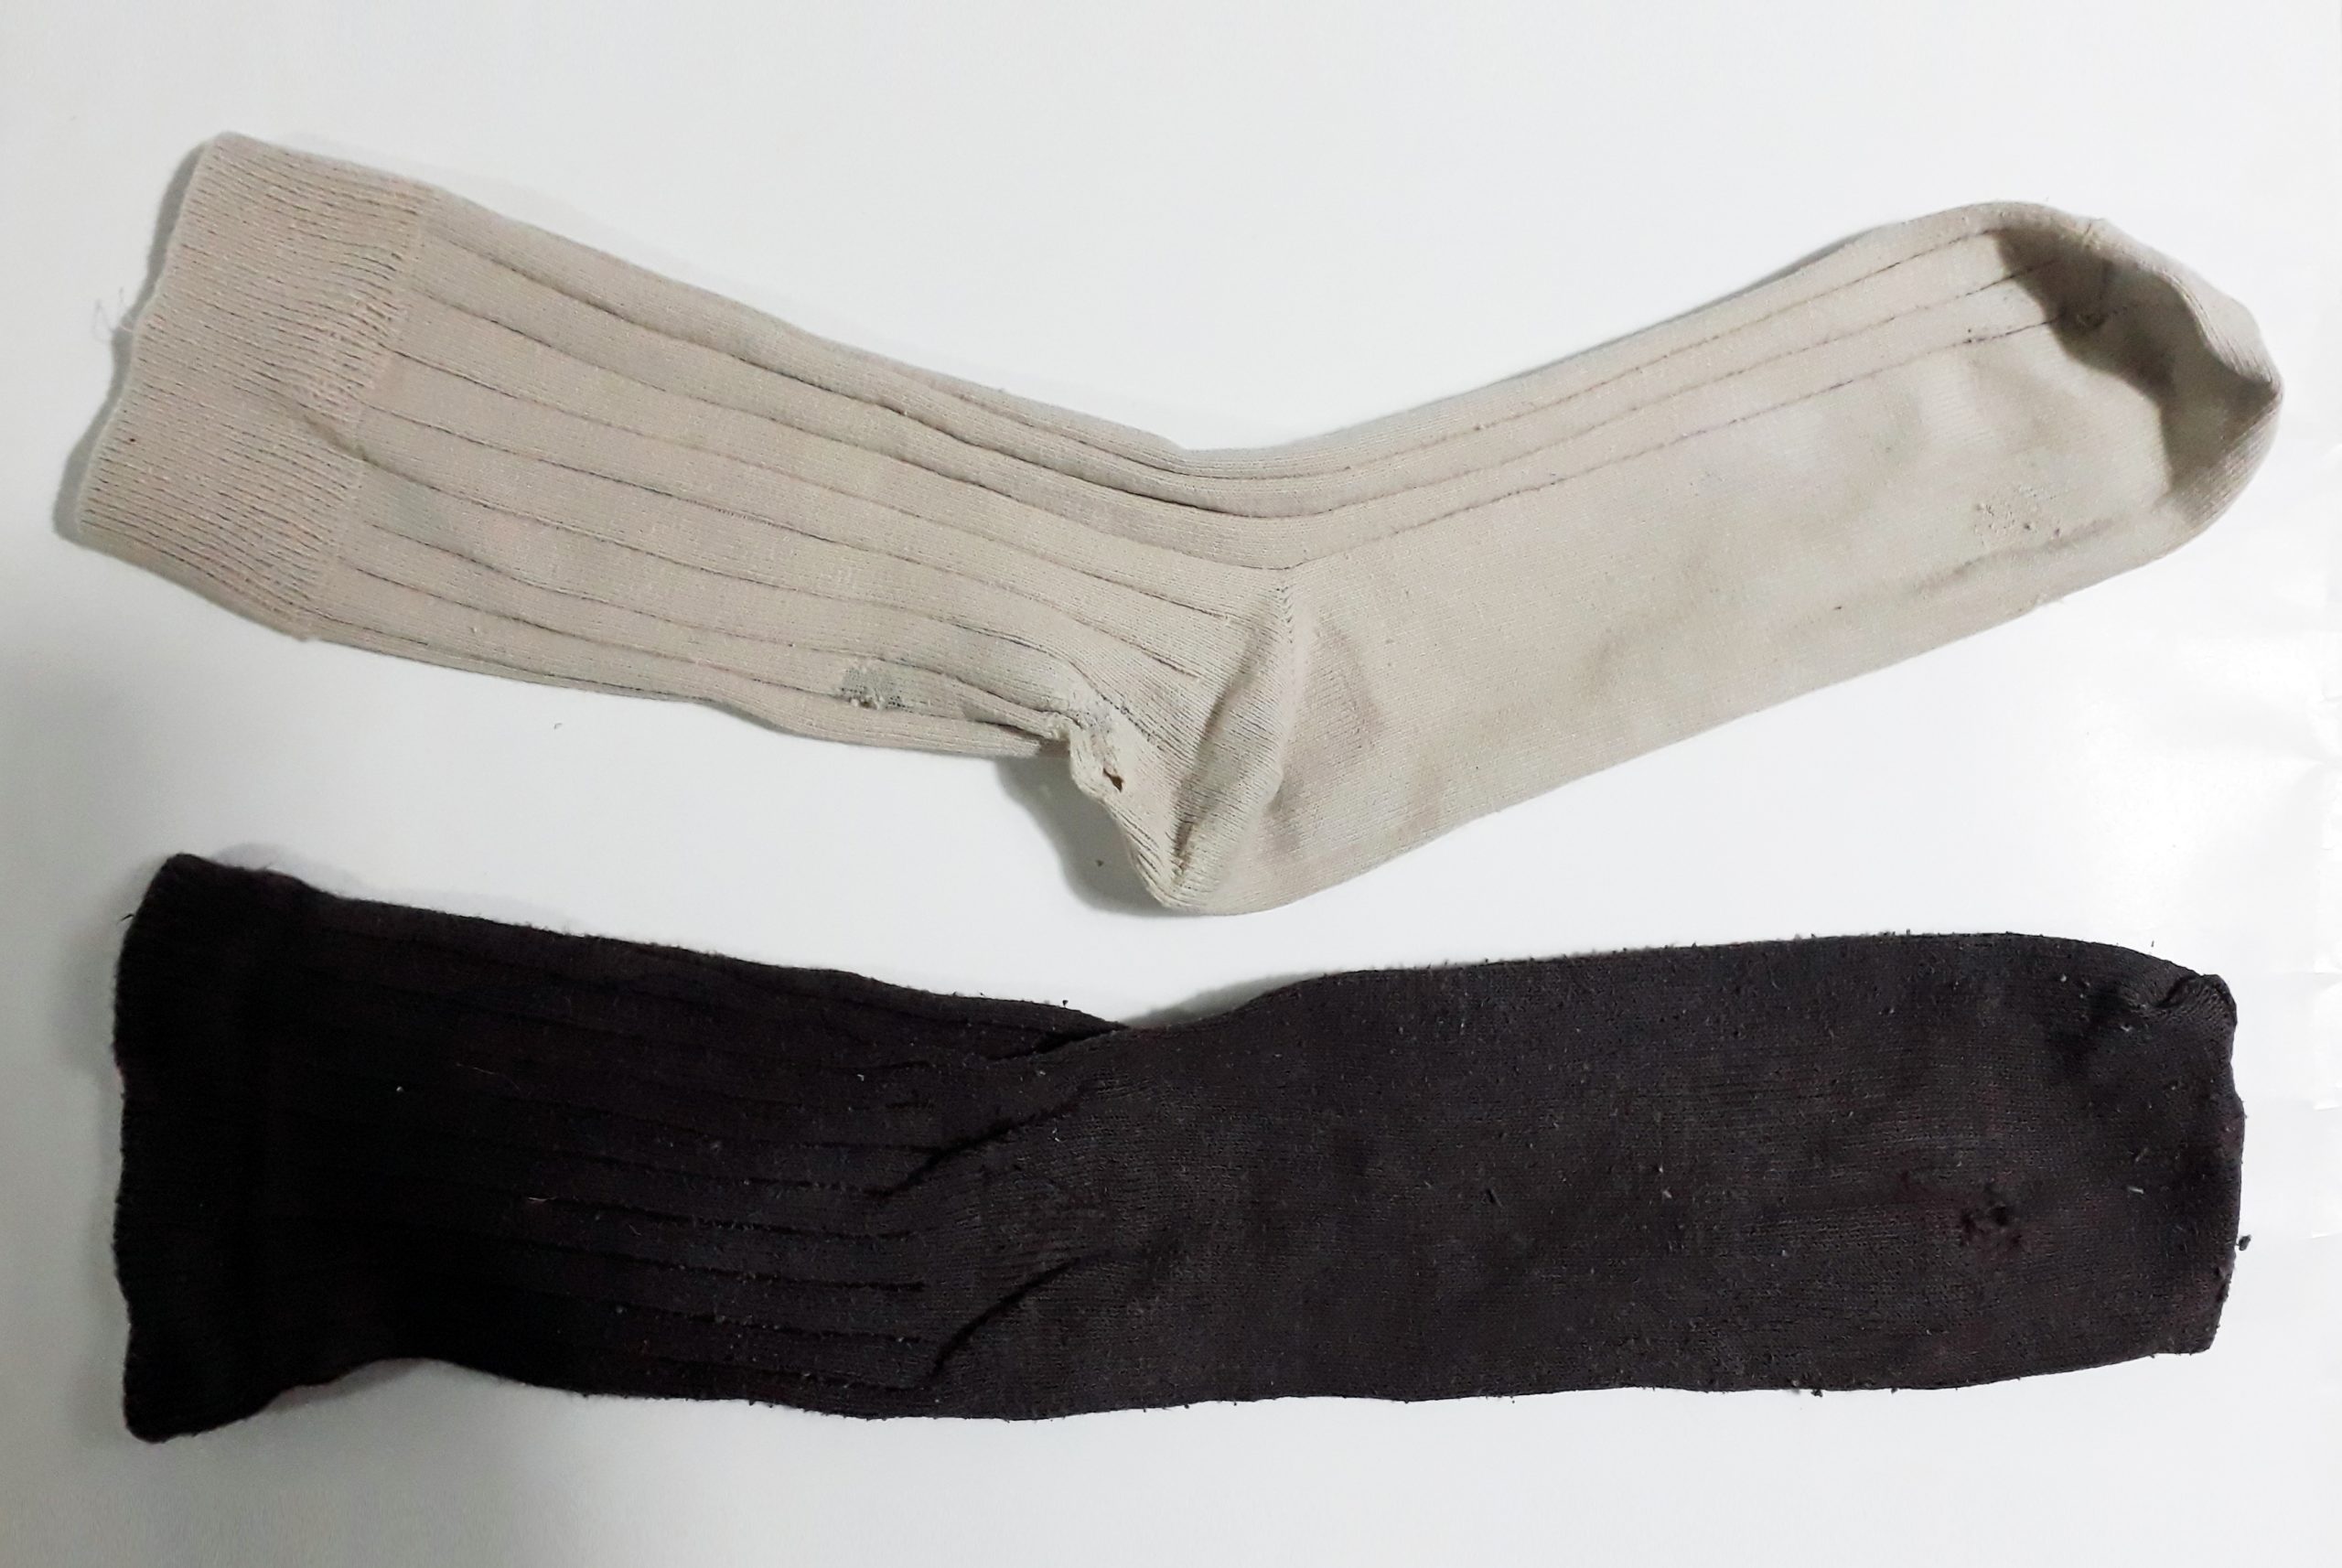
- Duas meias velhas
Sim, meias velhas! Mas não vale aquelas cheias de buracos e fedendo à chulé que ninguém merece, nem o Guguinha!
- Primeiro vamos colocar o Guguinha dentro da meia e fazer uma marcação em “T” na altura do pescoço e descendo até os pés.
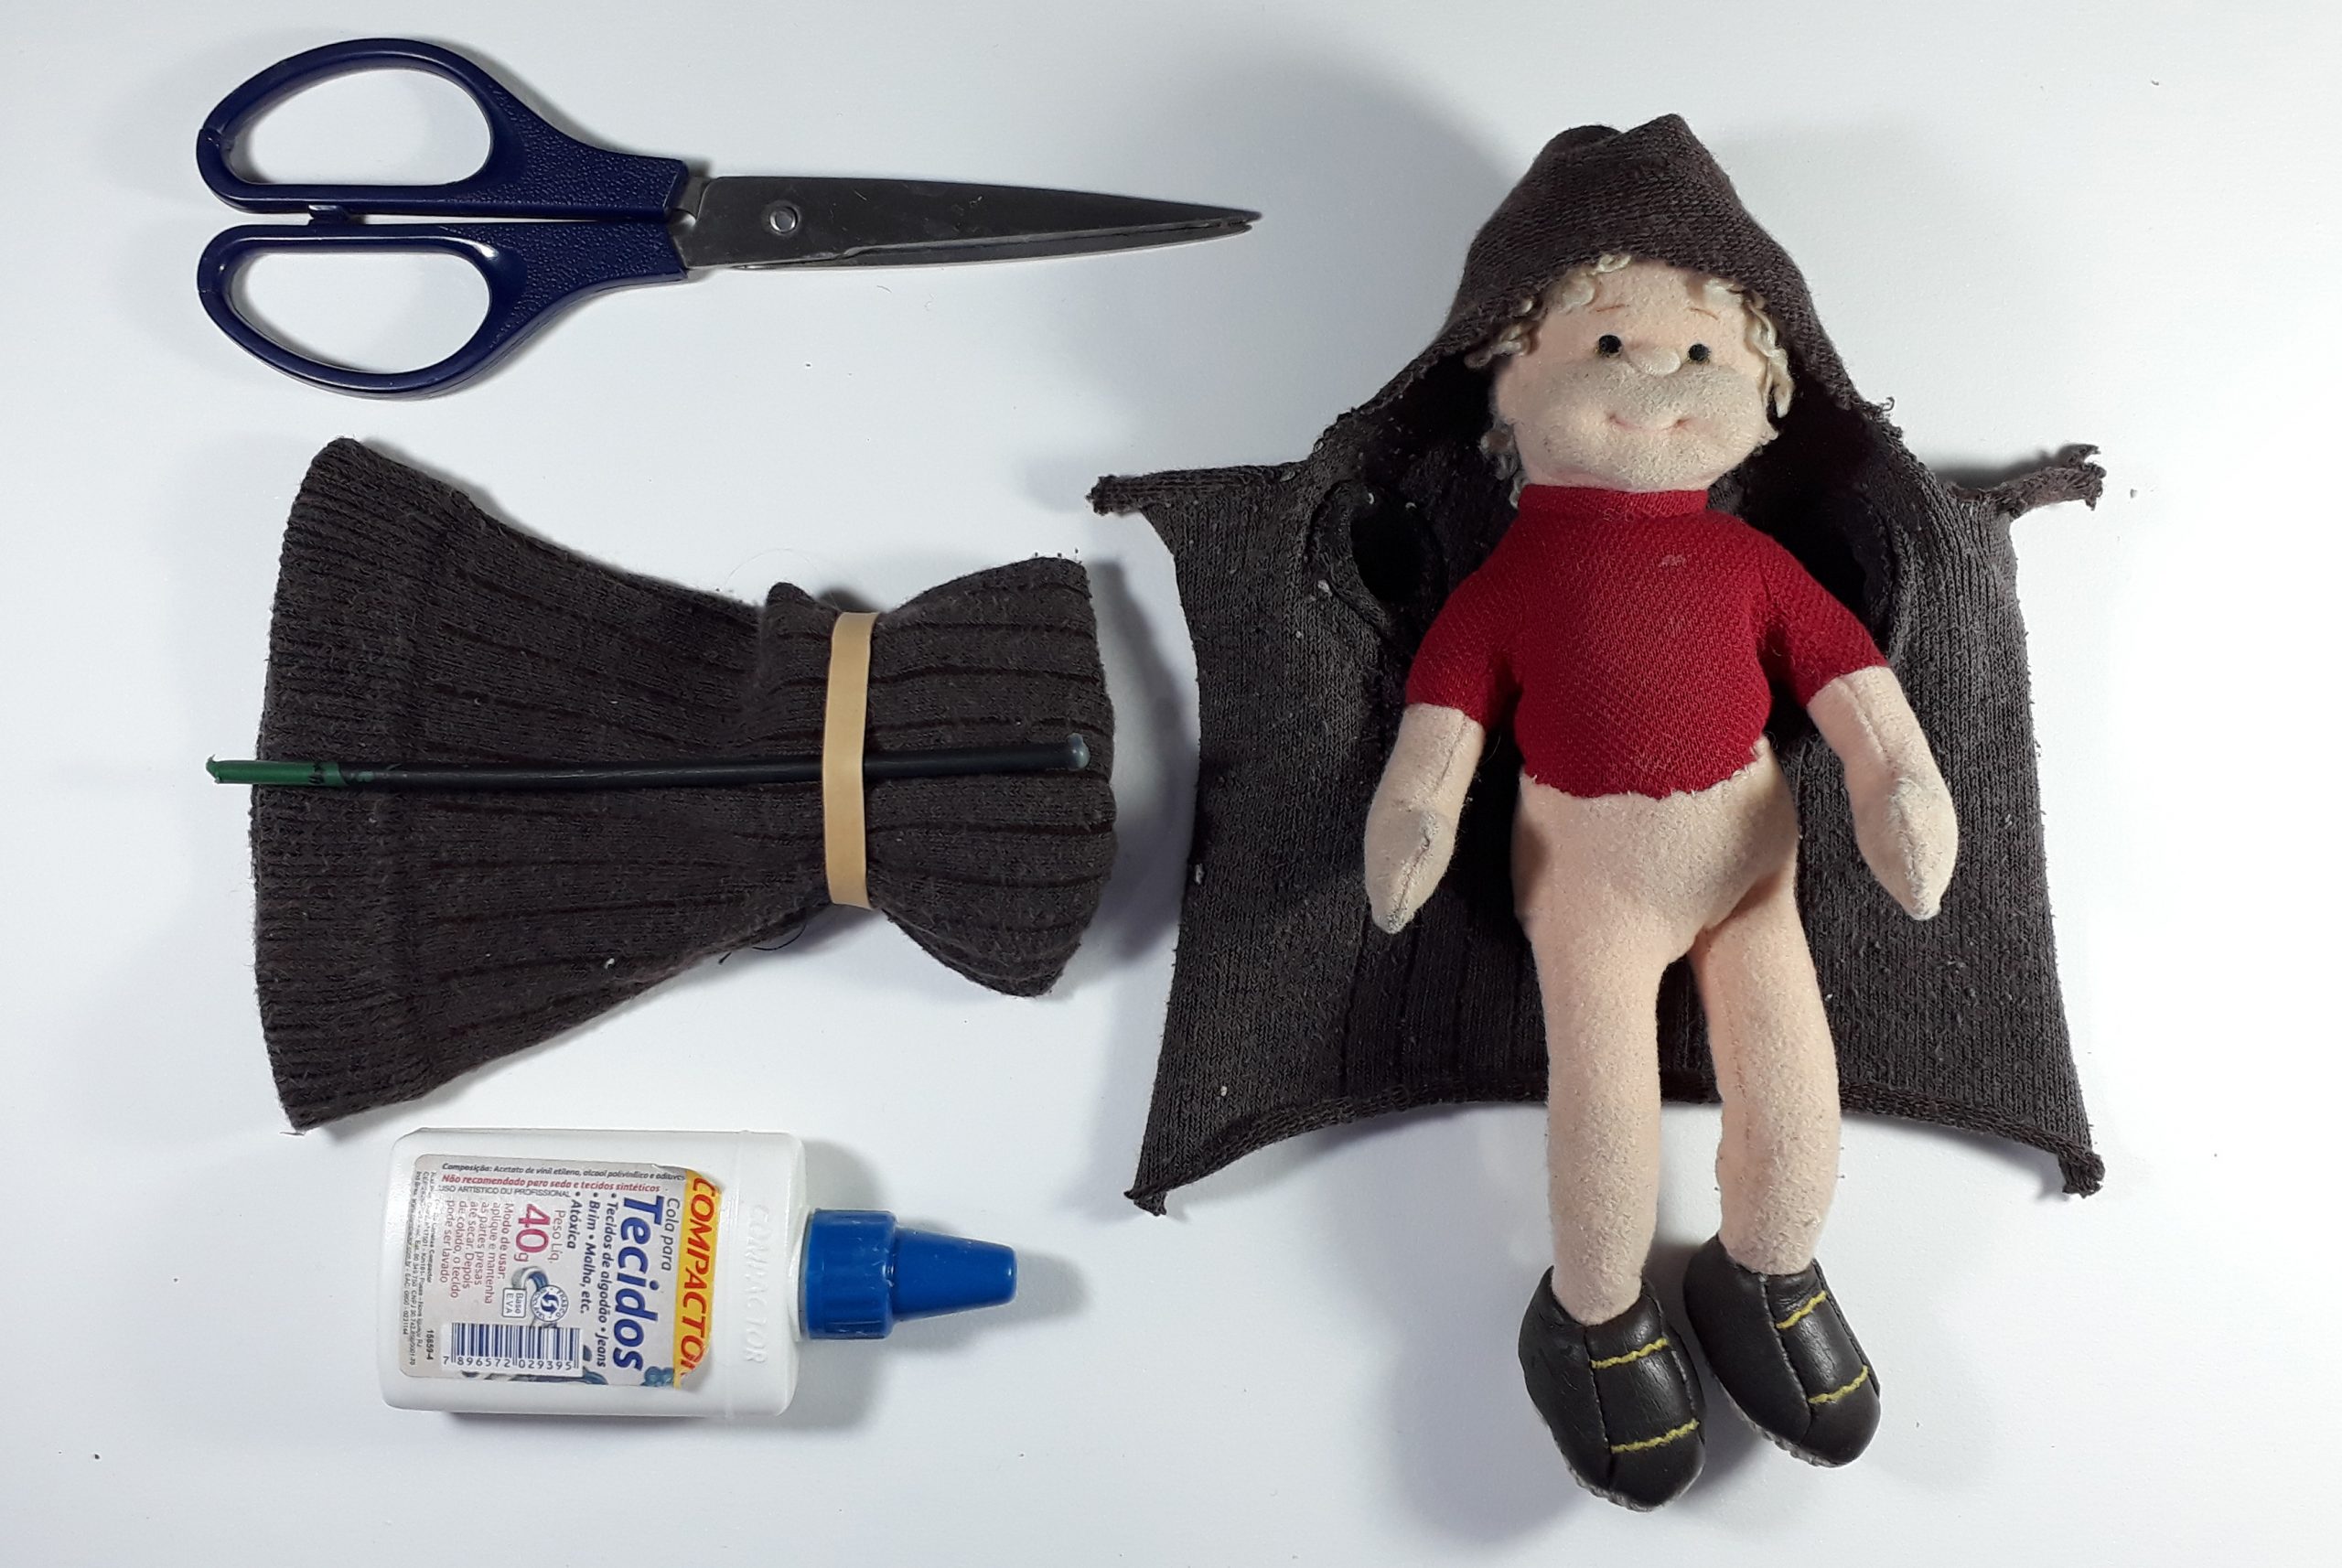
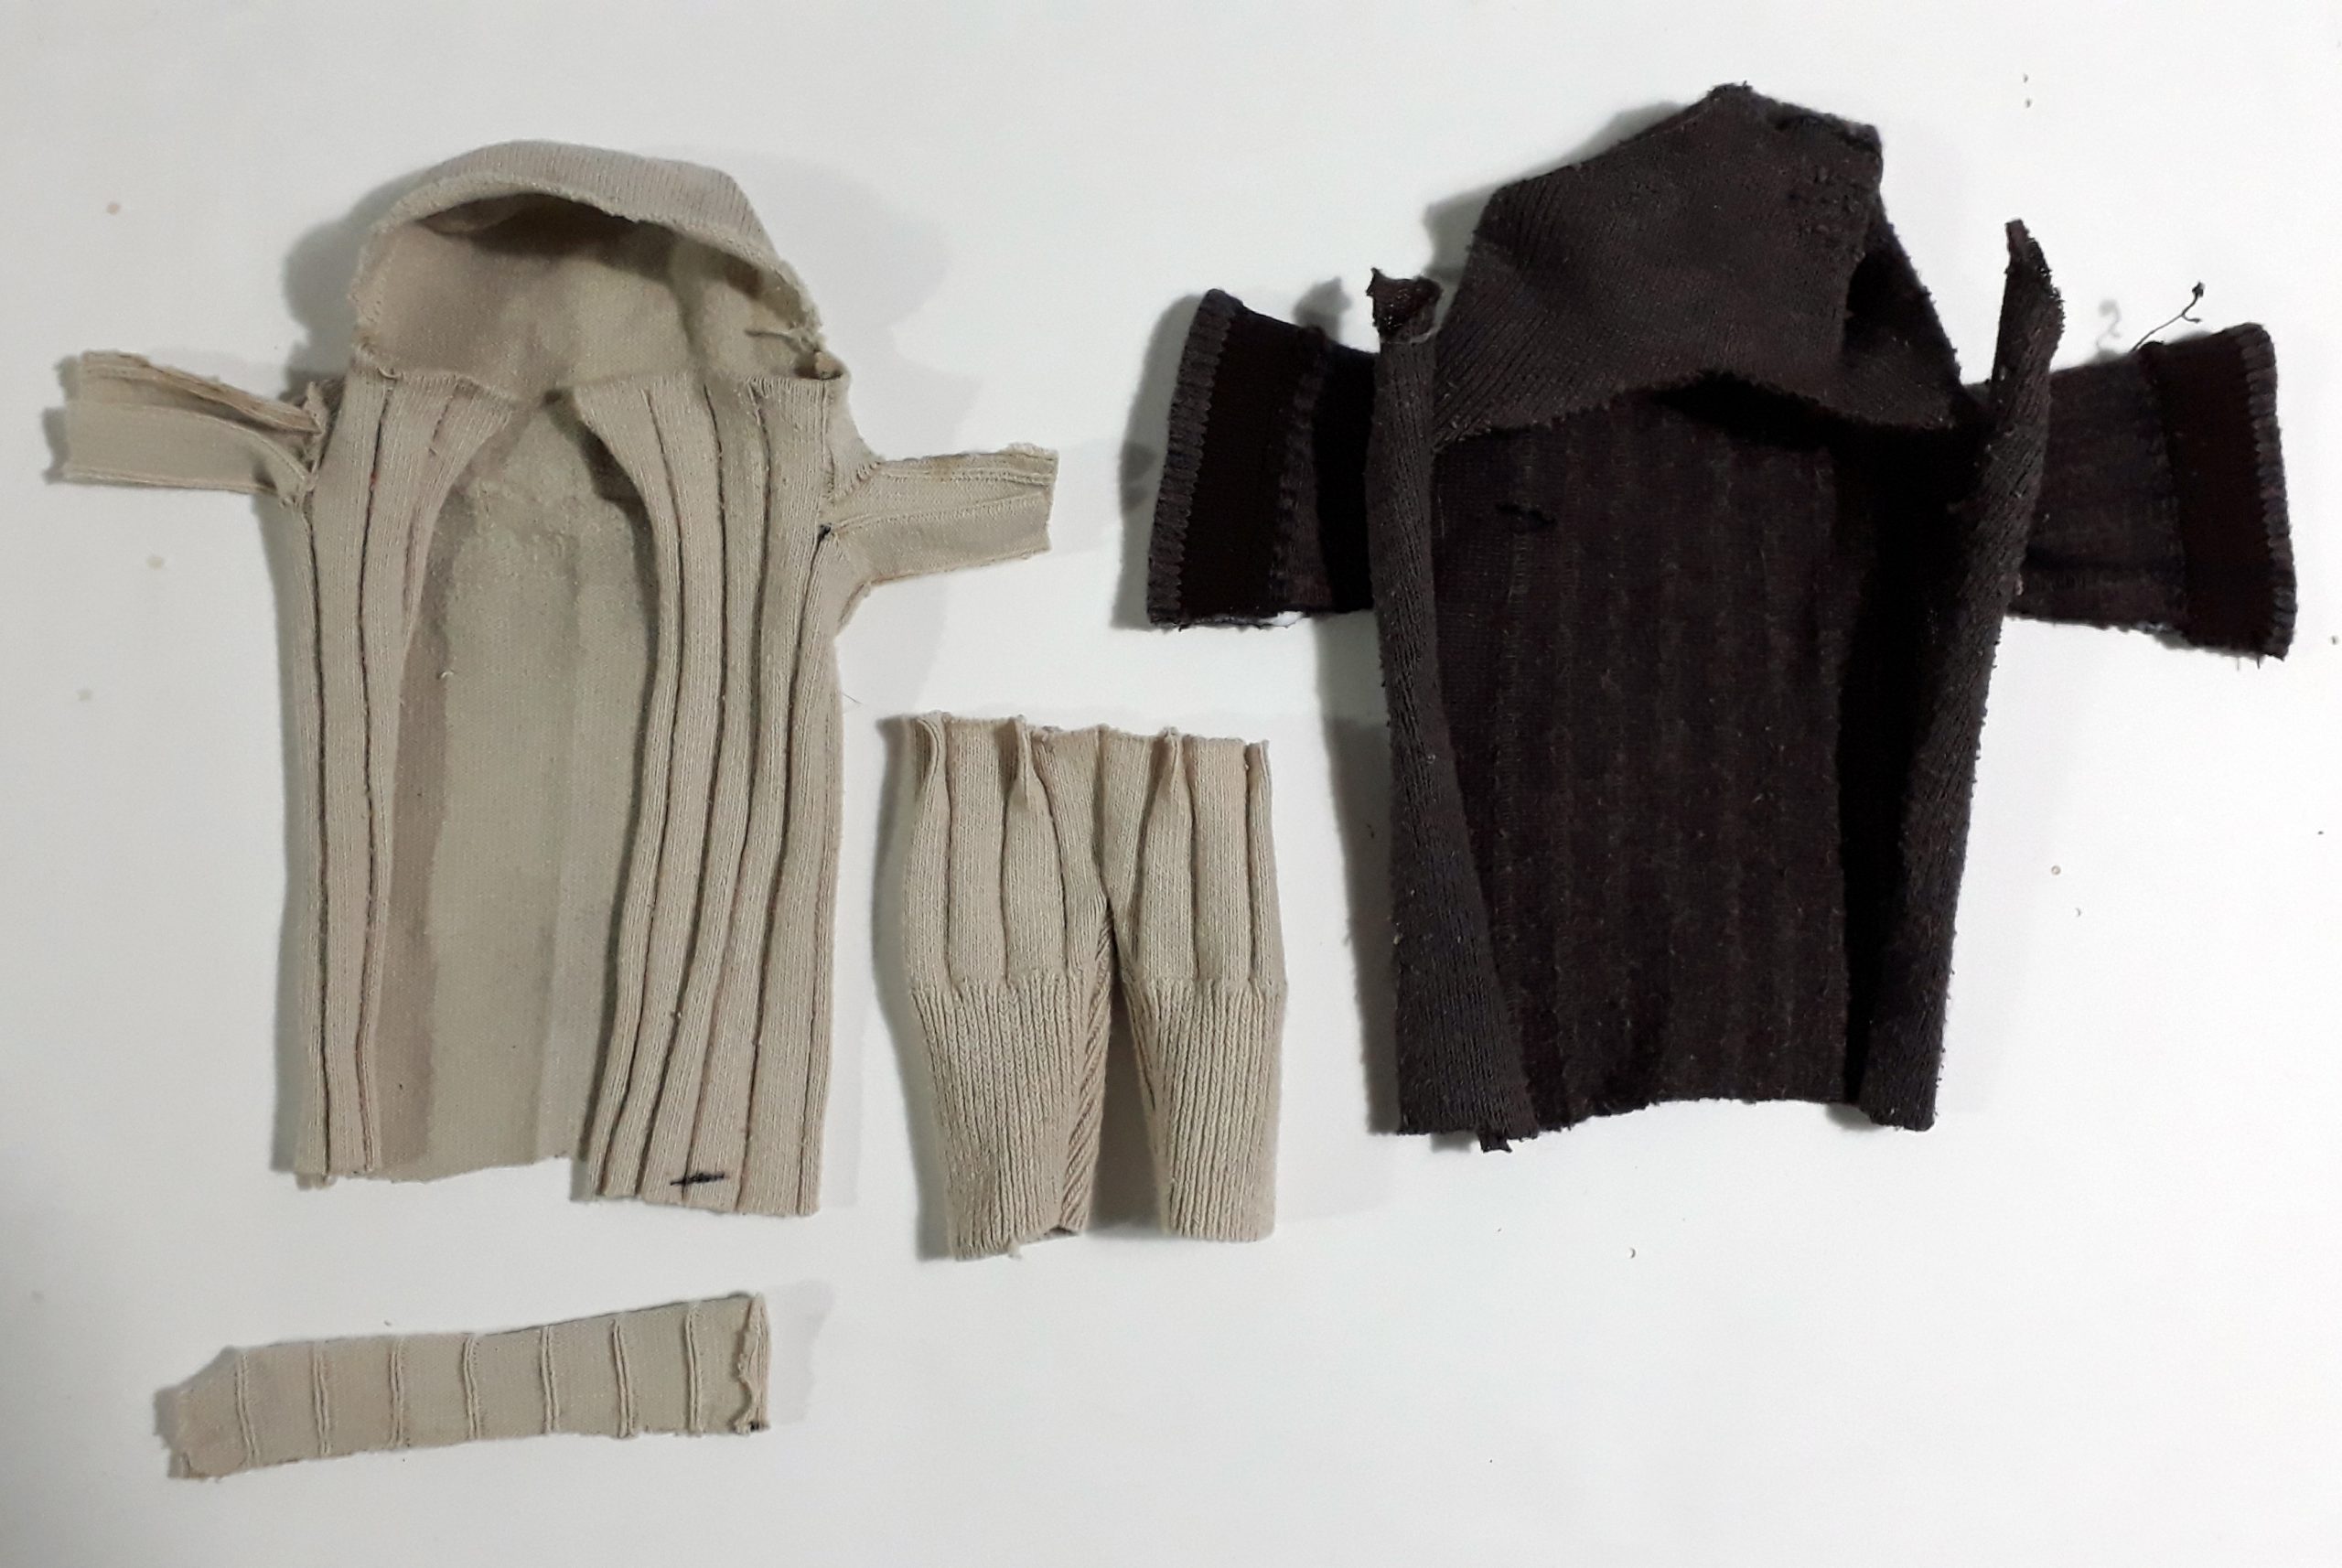
- Corte a marcação e já temos o casaco com capuz. O Formato do bico da meia é perfeito pra encaixar.
- Na altura dos ombros, faça dois cortes para encaixar as mangas.
- Para fazer as mangas usamos a outra extremidade da meia cortando exatamente ao meio e fazendo um formato de cone para as mangas ficarem bem largas.
- Para o casaco interno, use uma meia mais clara e faça o mesmo processo. Na hora das mangas elas podem ser mais retas e justas.
- Vamos usar a outra extremidade da meia mais clara para fazer a calça marcando já na metade.
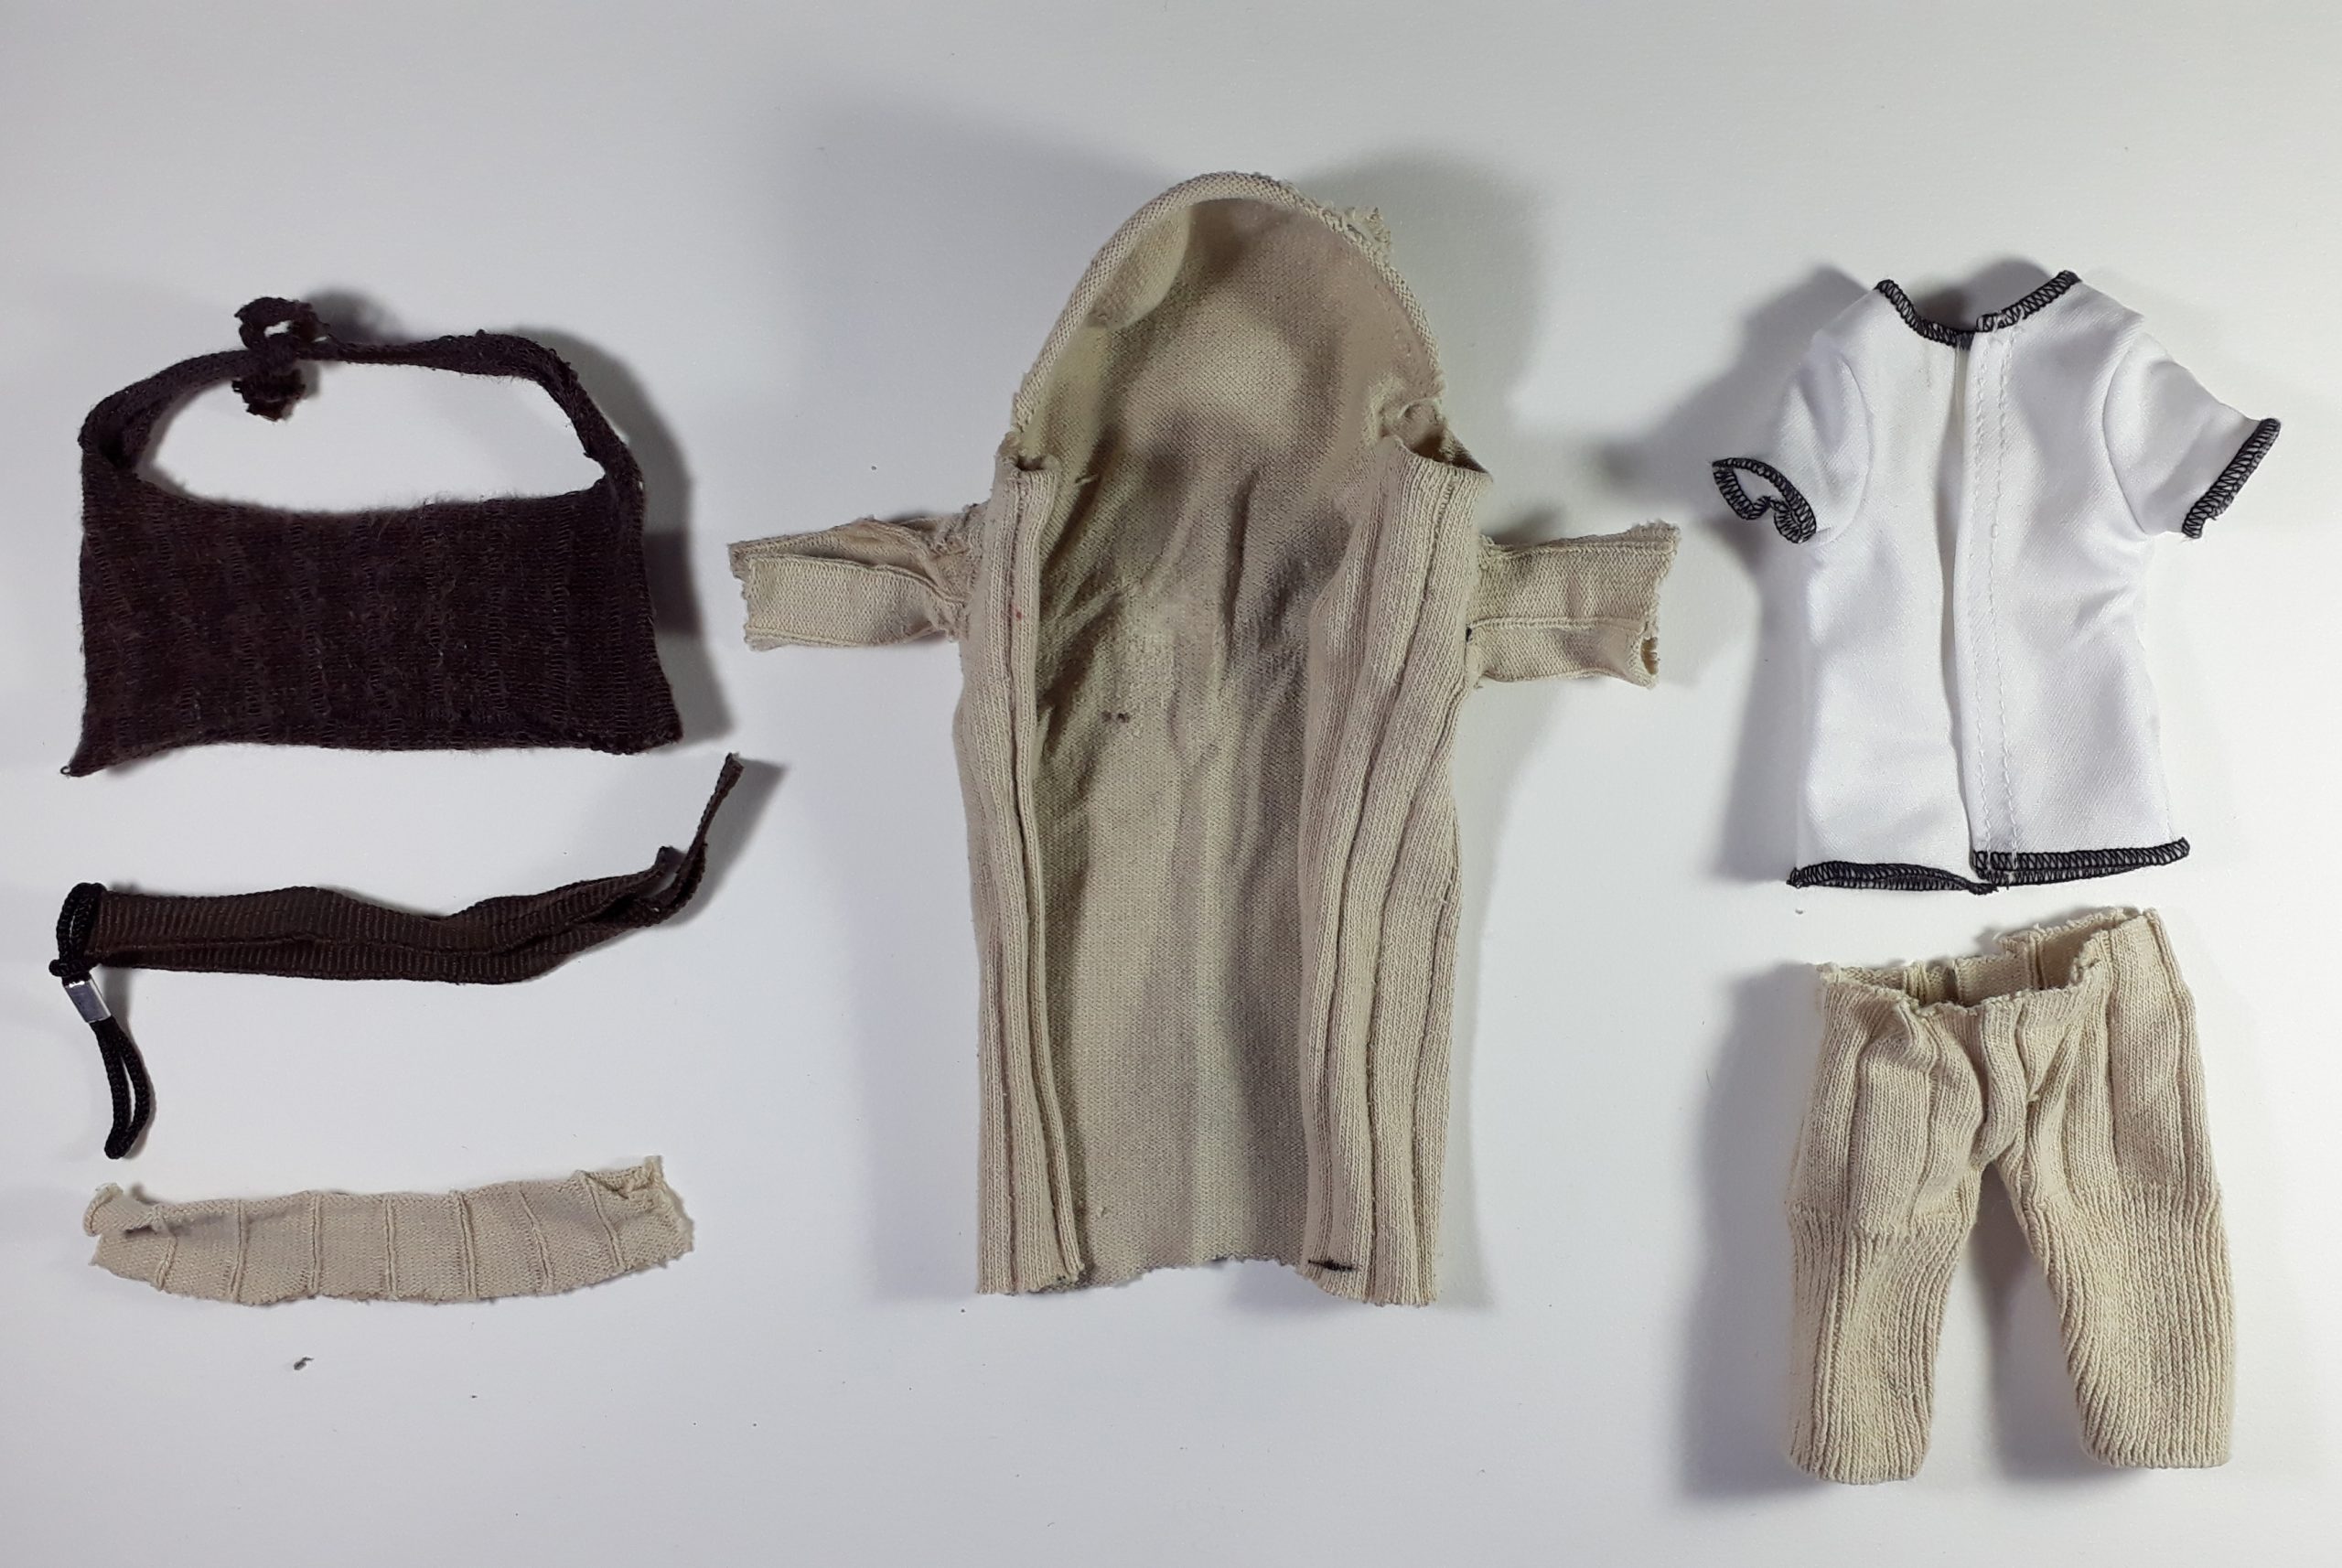
- Cole todas as junções com cola de tecido e teremos dois casacos.. e algumas sobras.
- Vamos usar estas sobras para fazer os cintos e uma especie de colete com o tecido mais escuro.
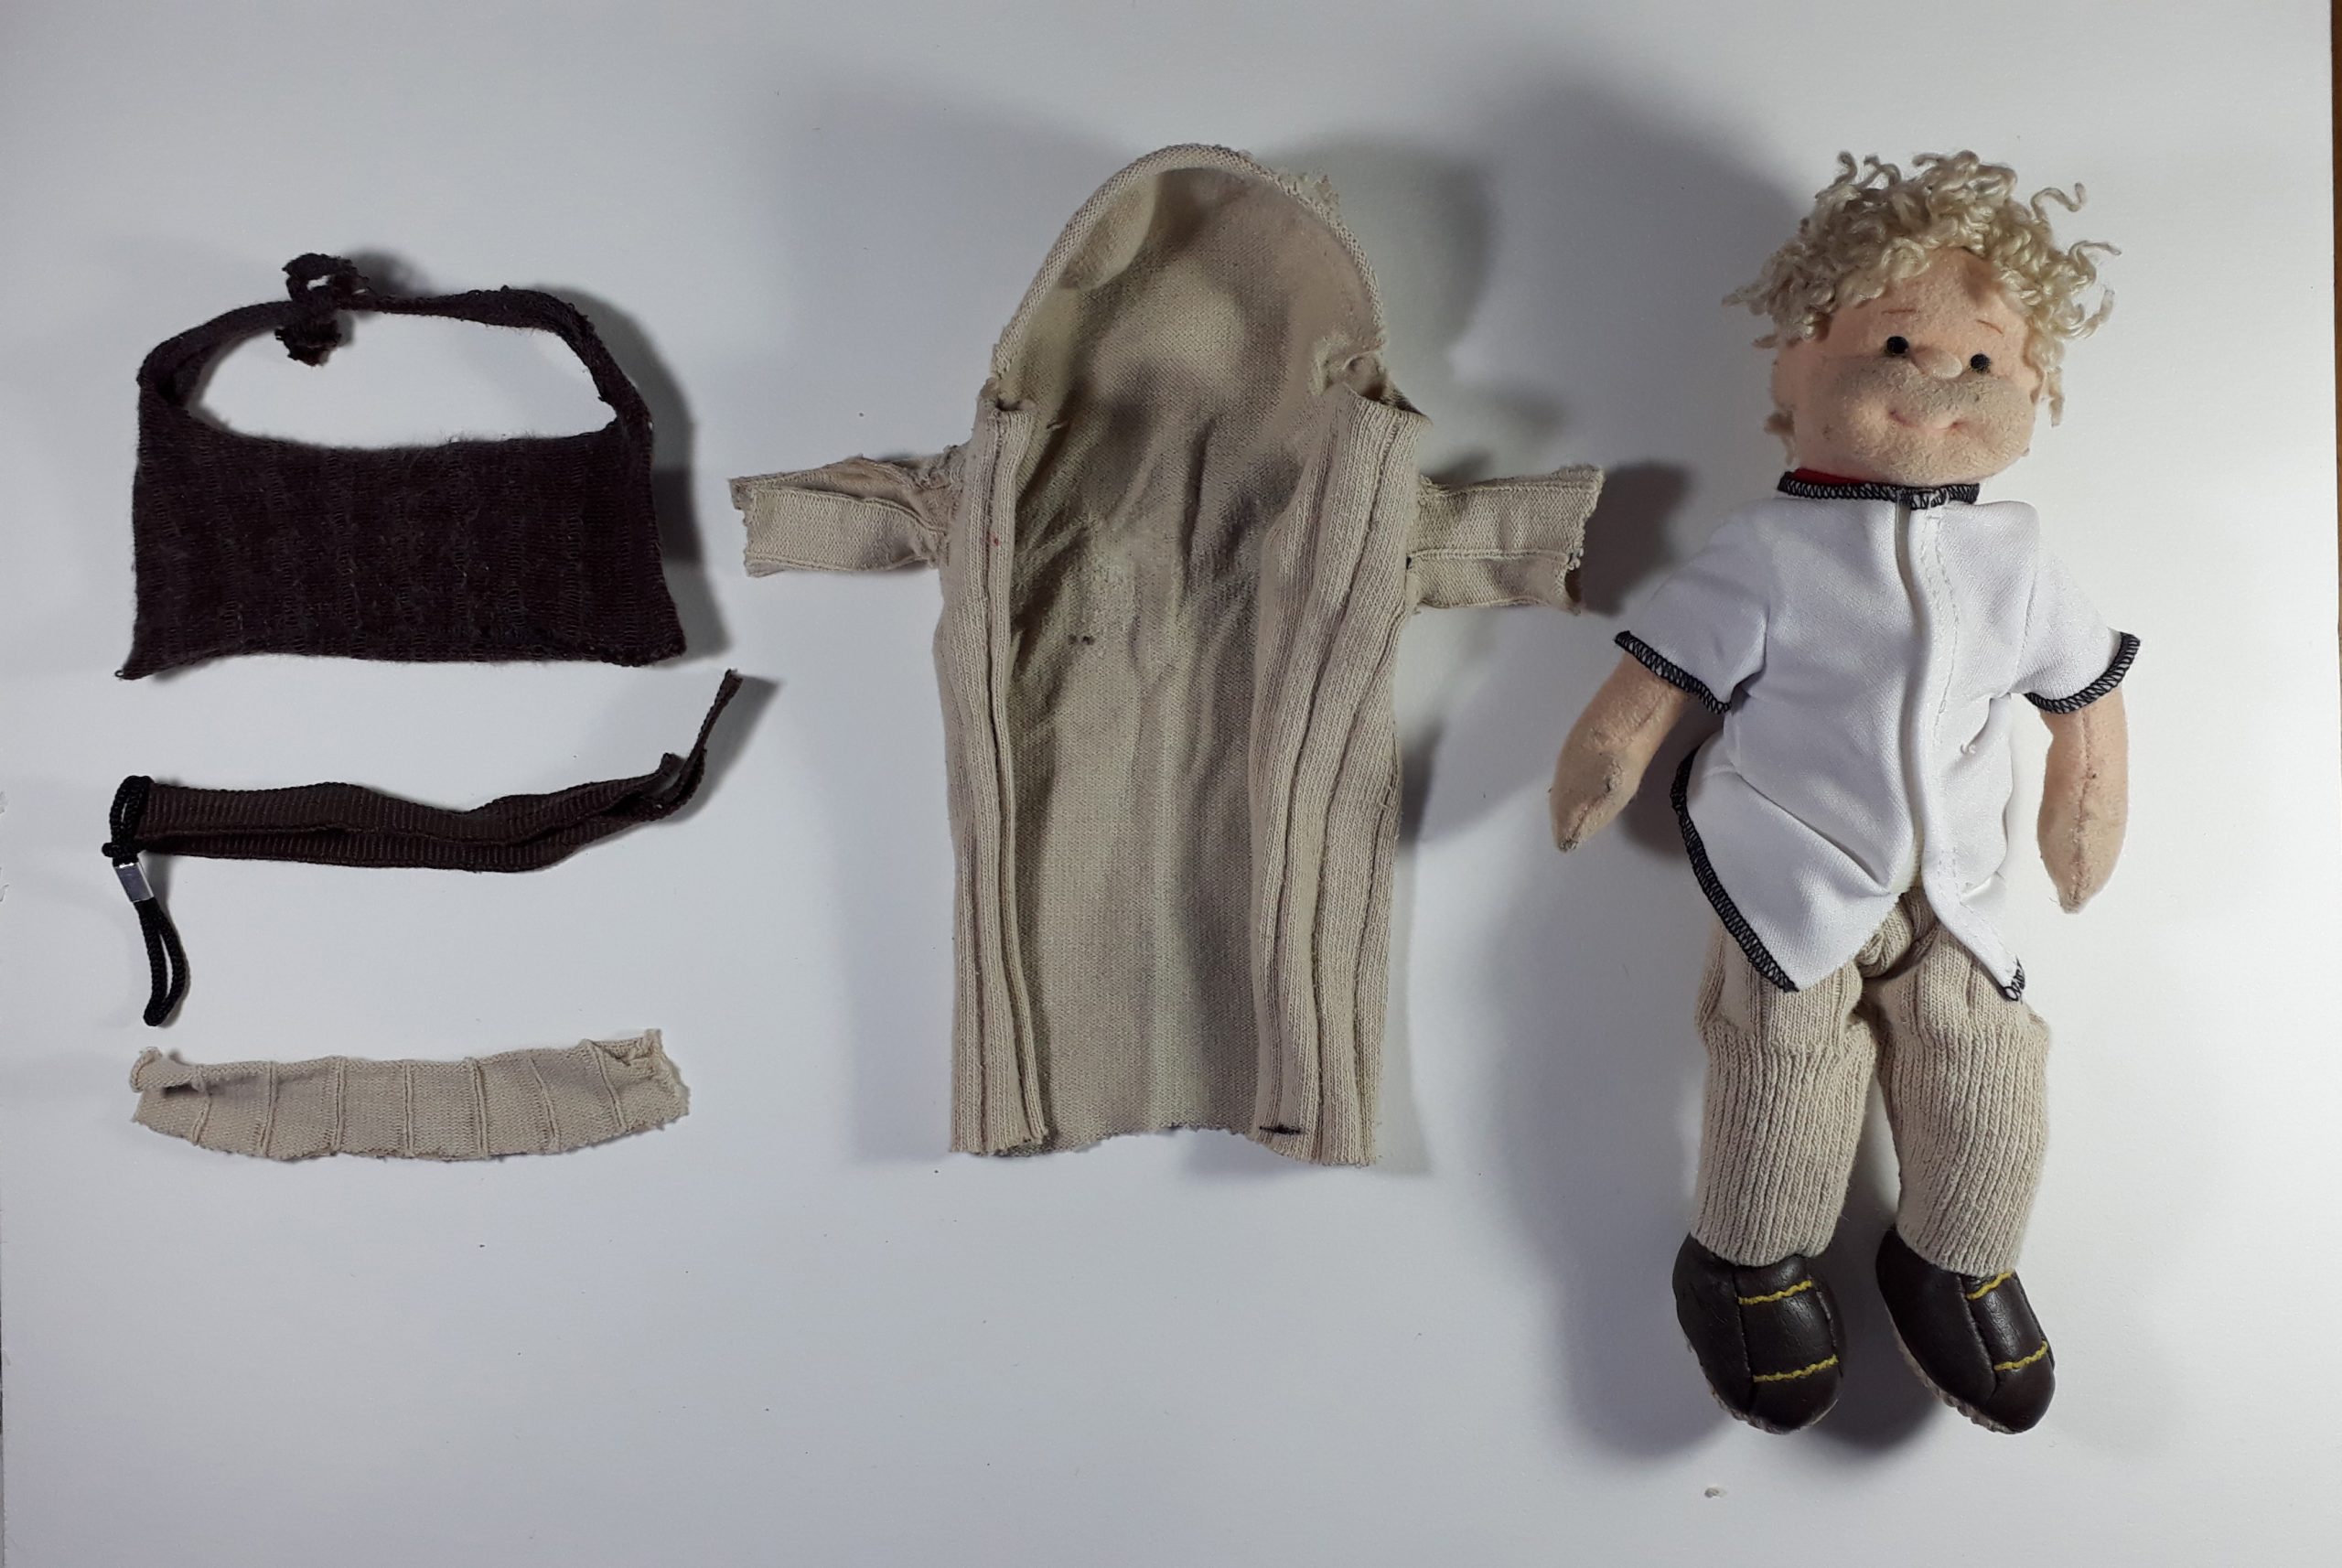
- Nesta montagem aproveitamos uma camisa branca já existente.
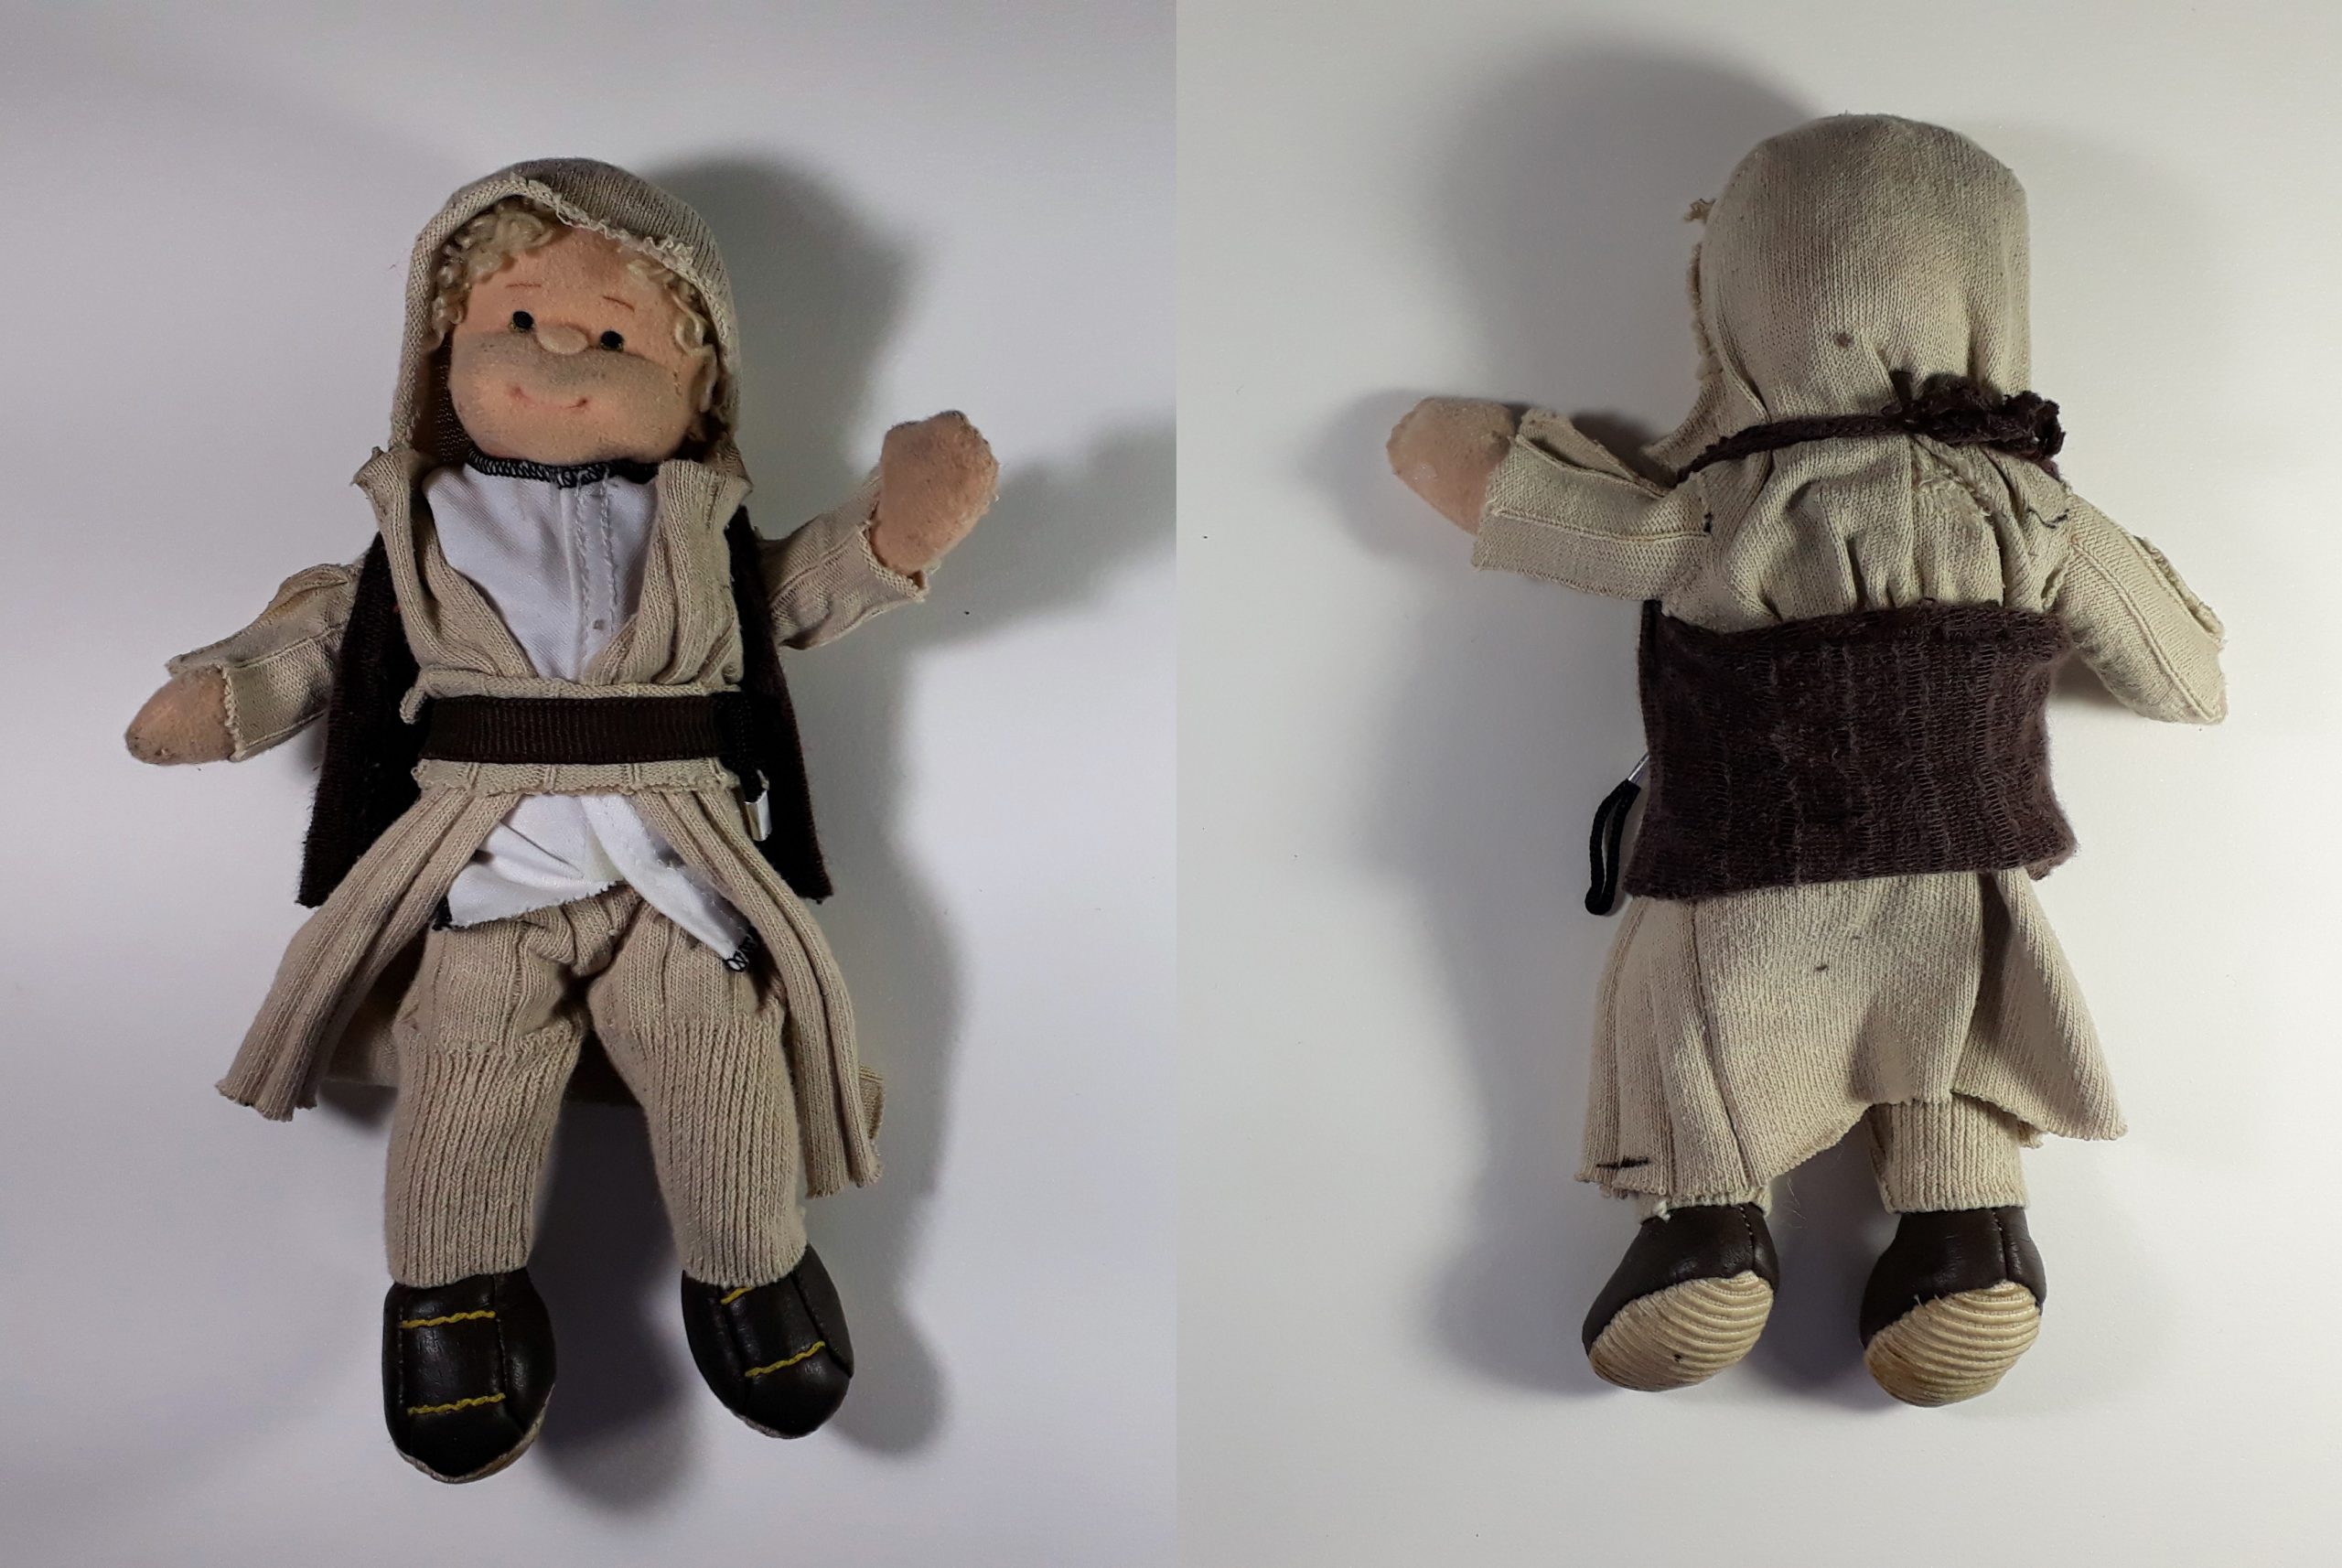
Depois de tudo amarrado o resultado final fica muito legal (Só não conta pra ninguém que tudo isso foi feito com uma meia velha sua!)


Text in english
Star Wars – DIY A JEDI
Have you always wanted to be a Jedi? It’s time to make your dream come true! Or at least for your dolls with this tutorial to make a standard Jedi costume. All you will need is:
- Fabric glue
- Scissors
- Marker pen
- Two old socks
Yes, old socks! But it is not worth those full of holes and stink that no one deserves, nor Guguinha!
- First let’s put Guguinha in the sock and make a “T” mark at the neck and down to the feet.
- Cut the mark and we already have the coat with hoods. The shape of the stocking spout is perfect for fitting.
- At shoulder height, make two cuts to fit the sleeves.
- To make the sleeves we use the other end of the sock by cutting exactly in half and making a cone shape for the sleeves to be very wide.
- For the inner coat, use a lighter sock and do the same process. At the time of the sleeves they can be straighter and tighter.
- We will use the other end to make the pants marking in the middle.
- Glue all joints with fabric glue and we will have two coats .. and some leftovers.
- We will use these leftovers to make the belts and a kind of vest with the darkest fabric.
- In this assembly we took advantage of an existing white shirt.
After everything is tied, the final result looks really cool (Just don’t tell anyone that it’s an old sock!)